I’ve burned Yumkugu three times. Twice from rushing the simmer. Once because I ignored the smell of toasted sesame oil (it tells you something (listen).)
You love Yumkugu. But you think it’s restaurant-only. Too many steps.
Too many weird ingredients. Too much room to mess up.
It’s not.
This guide shows you how to Cook Yumkugu at Home (no) chef training, no fancy gear, no guesswork. Just real steps. Real timing.
Real results.
I cut out the fluff. No vague “add a pinch” nonsense. No “simmer until perfect”.
What does that even mean? I tell you exactly when to stir, when to stop, when to taste.
You’ll use a regular pot. A wooden spoon. Maybe a blender if you own one (but you don’t need it).
And yes. It tastes like the place you order from on Friday nights. Better, even.
Because you made it.
You’ll get a full list of what to buy (no substitutions unless they actually work). Exact heat levels. How long to cook each part.
What to do if it looks wrong (it won’t, but still).
This isn’t theory. It’s what works. Every time.
What Yumkugu Really Is
Yumkugu is a thick, savory stew with dumplings (no) fancy labels, just real food that sticks to your ribs.
I first tried it at a tiny stall in Oyo State, where the cook stirred a giant pot for three hours straight.
It’s not some museum piece. It’s food people eat on Tuesday nights when they’re tired and hungry.
The base is onions, tomatoes, and palm oil. Deep red and fragrant. Then comes tender goat or chicken, simmered until it falls apart.
And those dumplings? Made from cassava flour, soft but chewy, soaking up every bit of sauce.
You’ll find it across southwestern Nigeria, passed down, tweaked, argued over. Not “authentic” or “fusion” (just) what works.
Why do people love it? Because it fills you. Because it tastes like home even if you’ve never been there.
Because it’s simple to make once you know how.
Want to Cook Yumkugu at Home? Start with the Yumkugu guide (it) cuts out the guesswork.
No special tools. No rare spices. Just heat, time, and attention.
That’s it.
Yumkugu Ingredients: Grab What You’ve Got
I cook Yumkugu at home every other Sunday. It’s not fancy. It’s just food that sticks.
For the Meat/Protein
– 1 lb chicken thighs (boneless, skinless)
– Beef works fine if you prefer it (same amount)
For the Sauce
– 2 cups chicken broth (vegetable broth swaps in without drama)
– 3 tbsp soy sauce (low-sodium if you watch salt)
For the Dumplings
– 1 cup all-purpose flour
– ½ cup water (add slowly. You want a shaggy dough, not glue)
Spices and Seasonings
– 2 cloves garlic, minced (no jarred stuff. I mean it)
– 1 tsp black pepper
You need fresh scallions for garnish. Dried won’t cut it. Same with cilantro.
If you hate cilantro? Fine. Skip it.
No judgment. But don’t call it Yumkugu if you swap in ketchup. (That’s just lunch.)
You’re not making lab-grown protein or filming a cooking show. You’re feeding people. So grab the bowl.
Start mixing.
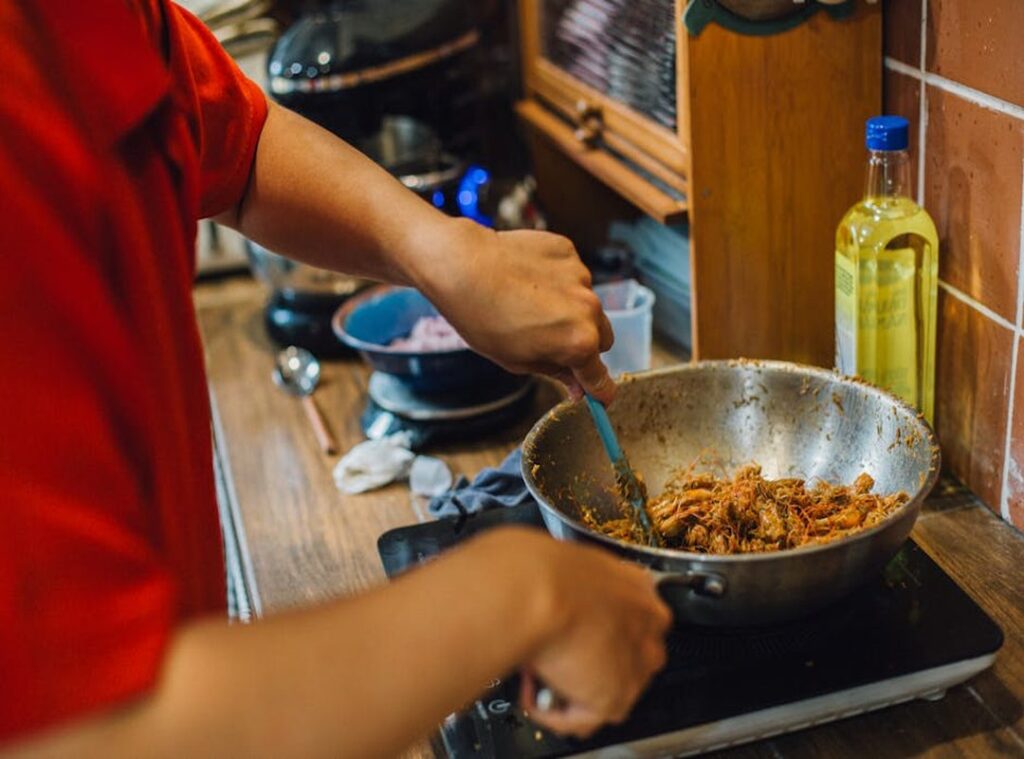
How I Actually Cook Yumkugu
I brown chicken thighs in a heavy pot. Skin-side down first. I wait for that crisp crackle.
You hear it before you see it. (Yes, the skin gets that good.)
Then I flip. I scrape up the brown bits with a wooden spoon. That’s flavor.
Not optional.
I dump in onions, garlic, ginger. I stir until they smell sweet and sharp. Two minutes.
No more. You want them soft. Not burnt.
Burnt garlic ruins everything.
I pour in coconut milk and fish sauce. I add a spoon of palm sugar. I taste.
It needs lime juice. Always lime juice.
Now the dumplings. I mix cassava flour, water, and salt. Just enough water to hold.
Too much and they dissolve. Too little and they crumble. I knead once.
Then stop. Overmixing makes them rubbery.
I roll walnut-sized balls. I drop them in gently. They sink.
Then they rise. That’s how I know they’re ready.
I simmer everything together for twenty minutes. Low bubble. Not a roar.
I stir once halfway. I watch the sauce thicken. It coats the back of a spoon.
That’s done.
I never walk away. Sauce burns fast. Dumplings stick if you don’t stir.
I serve it hot. With extra lime on the side. And fresh cilantro.
Not parsley. Cilantro.
You think cassava flour is weird? It’s not. It’s what gives Yumkugu its chew.
You’ll get it after one try.
Want to know if you can even make Yumkugu without a specialty store? learn more
I’ve burned the sauce three times. I still do it wrong sometimes.
But I cook Yumkugu at home. Every other week.
It’s not fancy. It’s just dinner.
And it fills the house with that warm, coconut-lime smell.
You’ll recognize it the second you walk in the door.
Yumkugu Isn’t Magic. It’s Just Cooking
I cook yumkugu at home every other week. Not because it’s fancy. Because it’s fast and tastes right.
Fresh ingredients matter. I mean fresh. Not “looked okay at the store” fresh.
If your scallions are limp, toss them. Same for ginger that’s gone rubbery. You’ll taste the difference.
(And yes, frozen shrimp works fine. But thaw it first.)
Want more heat? Add chili. More brightness?
Squeeze lemon after cooking. Don’t dump it in early (you’ll) lose the zing.
Leftovers go in a glass container with a tight lid. Fridge only. Three days max.
After that, the texture turns soft and weird.
Reheat slow. Stovetop. Low flame.
Splash of broth or water if it sticks. Stir once. Then stop.
Over-stirring kills the fluff.
Serve it hot. With chopped cilantro or mint. Crusty bread on the side (not) for dipping, just for scooping.
Some people use food additives to stretch flavor or shelf life. I skip them. You can read more about Yumkugu Food Additives if you’re curious.
But honestly? Start simple. Taste as you go.
Trust your tongue.
Your Yumkugu Is Ready
You thought it was too hard.
I did too. Until I tried it the right way.
Now you know how to Cook Yumkugu at Home. No guesswork. No stress.
Just real food, made by you.
That first bite? It’s worth every minute.
Did you skip a step? Mess up the sauce? Good.
Try it again tomorrow. This isn’t about perfection. It’s about tasting something you made.
Not ordered, not reheated.
Grab the pan. Heat the oil. Start now.
Then tell someone what you made. Or don’t. Just eat it while it’s hot.
Your kitchen is ready.
So are you.
 There is a specific skill involved in explaining something clearly — one that is completely separate from actually knowing the subject. Norah Porteranaz has both. They has spent years working with well curated recipes in a hands-on capacity, and an equal amount of time figuring out how to translate that experience into writing that people with different backgrounds can actually absorb and use.
Norah tends to approach complex subjects — Well Curated Recipes, More, Regional Culinary Traditions being good examples — by starting with what the reader already knows, then building outward from there rather than dropping them in the deep end. It sounds like a small thing. In practice it makes a significant difference in whether someone finishes the article or abandons it halfway through. They is also good at knowing when to stop — a surprisingly underrated skill. Some writers bury useful information under so many caveats and qualifications that the point disappears. Norah knows where the point is and gets there without too many detours.
The practical effect of all this is that people who read Norah's work tend to come away actually capable of doing something with it. Not just vaguely informed — actually capable. For a writer working in well curated recipes, that is probably the best possible outcome, and it's the standard Norah holds they's own work to.
There is a specific skill involved in explaining something clearly — one that is completely separate from actually knowing the subject. Norah Porteranaz has both. They has spent years working with well curated recipes in a hands-on capacity, and an equal amount of time figuring out how to translate that experience into writing that people with different backgrounds can actually absorb and use.
Norah tends to approach complex subjects — Well Curated Recipes, More, Regional Culinary Traditions being good examples — by starting with what the reader already knows, then building outward from there rather than dropping them in the deep end. It sounds like a small thing. In practice it makes a significant difference in whether someone finishes the article or abandons it halfway through. They is also good at knowing when to stop — a surprisingly underrated skill. Some writers bury useful information under so many caveats and qualifications that the point disappears. Norah knows where the point is and gets there without too many detours.
The practical effect of all this is that people who read Norah's work tend to come away actually capable of doing something with it. Not just vaguely informed — actually capable. For a writer working in well curated recipes, that is probably the best possible outcome, and it's the standard Norah holds they's own work to.